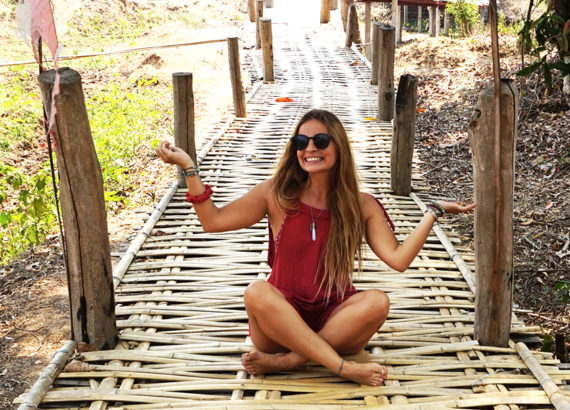
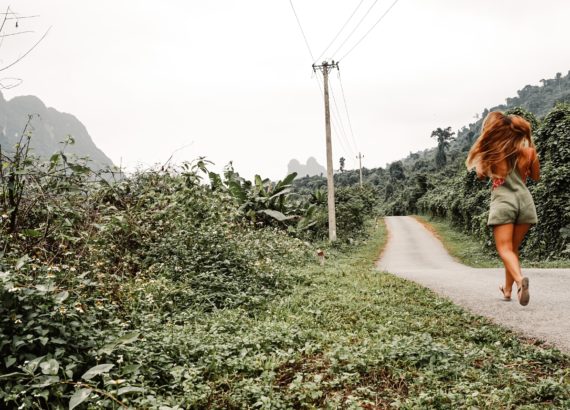
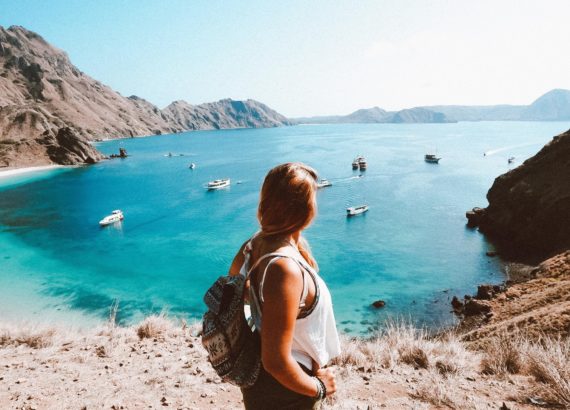
My Travel Guide: Philippines in 20 days


And the award for the country with the most amazing beaches goes to… “drumming increasing”
THE PHILIPPINES!!!
Having traveled all over Southeast Asia, the Philippines was the last country I explored, and I raise my hands to the sky because it was that way!
When we travel so much, it becomes more and more difficult to surprise ourselves with a landscape. And as you can imagine, after a year of immersing this little body in the most paradisiacal beaches in the world, it was no longer any white sand with palm trees and blue water that made my heart stop. Until out of the hustle and bustle of Manila, where the next few weeks were an increase of natural wonders.
It was the first time that I traveled with a stipulated itinerary. Since I received visits from my mother and my sister and I thought it best to leave the adventures of the unexpected for when I was alone again. However, I also wanted to give them a little bit of my way of traveling, backpacker style, avoiding the tours and having a more local experience. Yes, I turned my mother into a successful backpacker 😂
And it is my successful Philippines travel guide that I will share with you in this article, using Manila as an arrival and departure point.
Let´s go?

DAY 1 & 2: MANILA
Shall we skip Manila? 😅
I have to confess that Manila did not get my heart at all. Unlike other big Asian cities like Bangkok or Kuala Lumpur which have their charms, Manila, in my opinion, is just chaotic. End of story.
We stayed for two days, the first being the arrival in the country and the second to take a break from such a long journey from Europe. If you’re already in Asia and don’t want to waste time, my advice is to head straight to the other islands.
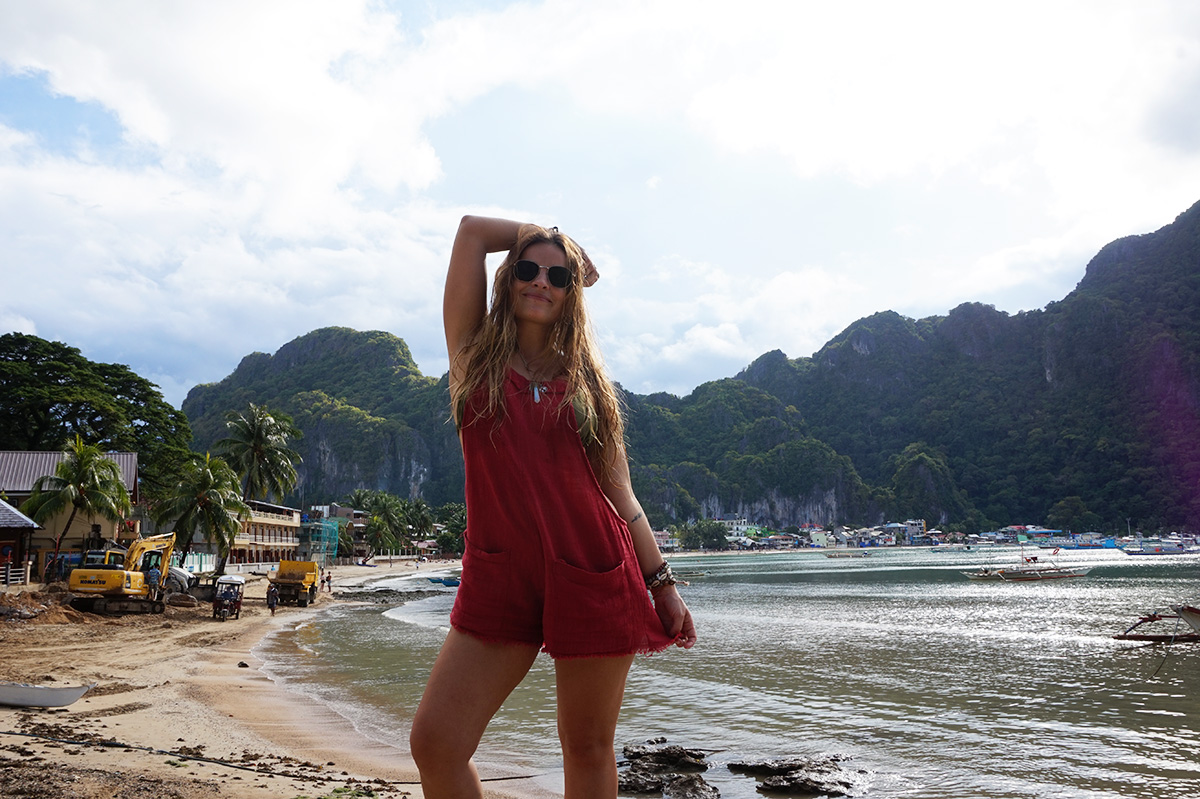
DAY 3, 4, 5 & 6: EL NIDO
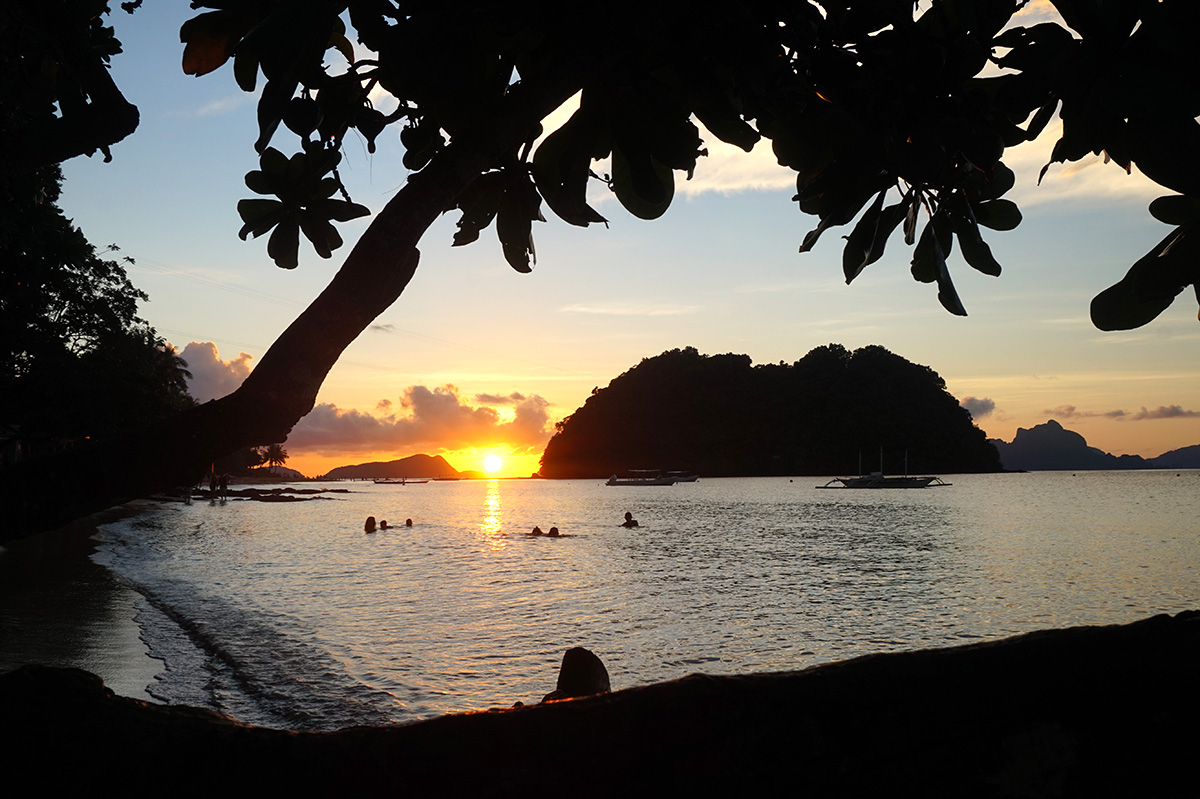
El Nido is located in the north of the island of Palawan and is one of the most visited attractions in the Philippines. It is composed of a village with little structure, like dirt roads but with no charm and small streets full of tourists. However, El Nido needs to be part of your itinerary, for everything that surrounds it.
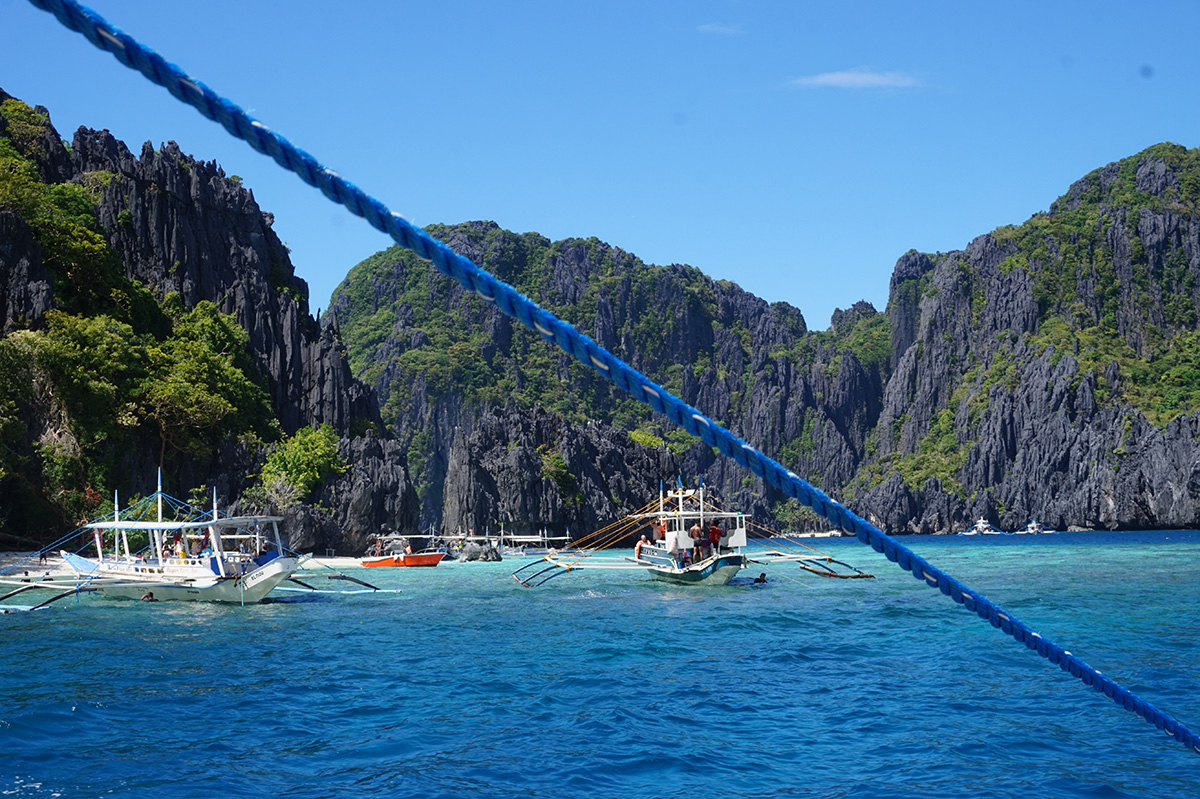
It is from here that boat trips depart to visit the Bacuit archipelago, and indeed, it is heaven on earth. Imagine a landscape of crystalline blue sea from which gigantic rocky cliffs sprout abruptly and on the way, you will discover hidden lagoons, paradisiacal white sand beaches, colorful corals, and fish of all colors.
It’s a surreal landscape and that’s the secret of El Nido and why you can’t leave it out of your itinerary.

.

DAY 7, 8 & 9: PORT BORTON
Ahhh Port Borton… What is that place?
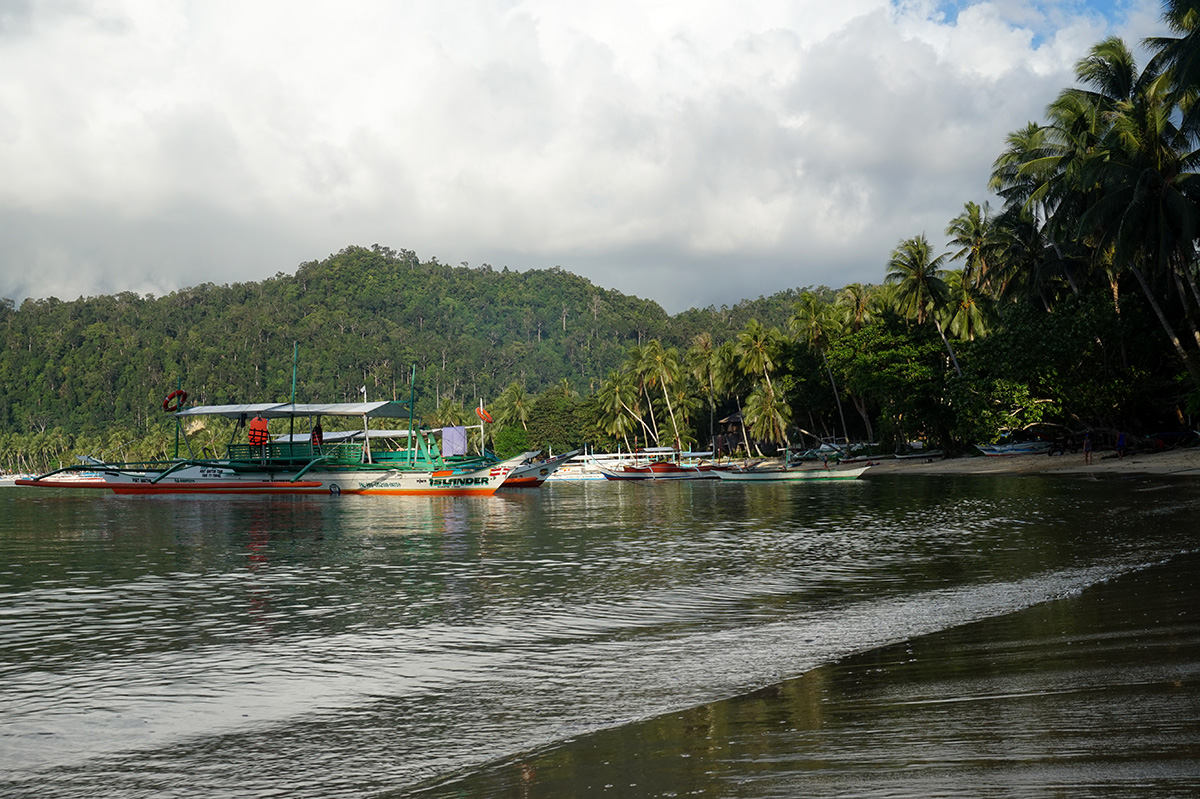
Leaving the chaotic little town of El Nido, we ended up in the paradise of life. Port Borton has another time, it reminds me of those forgotten places in the world, and how good it tastes.
It retains its local essence. It’s like a small seaside village with dirt roads, but unlike El Nido, the atmosphere here is very relaxed. If I ever return to Palawan, you can be sure that I will return to Port Borton. It is a mandatory stop, especially if you want to experience something less touristy and off the beaten path.
Port Borton is for simply being, it has a magical atmosphere that captivates you.

DAY 10: DAY TRIP TO BOHOL
Moving around the Philippines requires some time. Especially when changing islands. Between vans and airplanes, there goes one day. From Port Borton to Bohol, was the most exhausting day of the entire trip. Here, the important thing is to combine all the schedules of the various types of transport to make the complete trip in a single day.
- Van from Port Borton to Puerto Princesa Airport. I booked this route with a local who gave us a ride on one of our adventures in Port Borton. But you can talk to someone in your accommodation and they can easily arrange it.
- Flight from Puerto Princesa to Cebu. The airlines that facilitate these journeys are Cebu Pacific Air, Airasia and Phillipine Airlines. The flight takes just over an hour and the prices, if bought in advance, are relatively cheap, around €20.
- Take a taxi from Cebu Airport to Cebu Pier 1 and then take a boat. The taxi you should take is the white one because they are the cheapest. You’ll probably be waiting in a queue, but don’t worry because the queue moves quickly. The journey lasts from 30 minutes to an hour and the cost will be around 250 to 300 pesos.
- Boat from Cebu to Bohol: Take the boat to Tagbilaran. The companies that make this route are Oceanjet and Supercat and they operate from 5:00 am to 6:40 pm. also, there is another that operates until 10:00 pm. I bought the tickets on the spot with no problems and the price ranges from 500 to 600 pesos. The trip takes two hours.
- Arriving in Bohol, negotiate the route to your hostel with a tricycle.
DAY 11,12 & 13: BOHOL AND PANGLAO
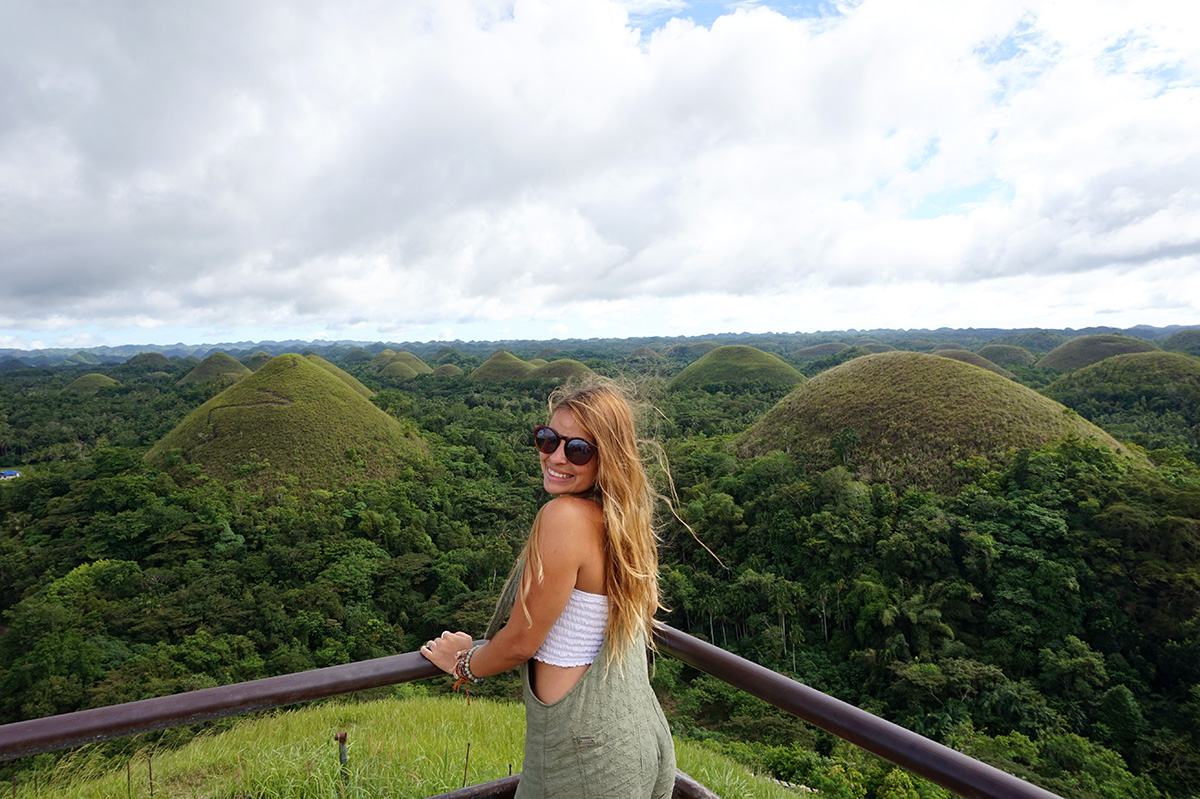
Bohol is perfect for taking a break from the beaches, and for that reason, I thought it would be interesting to put it on the itinerary to diversify a bit and replace the relaxation of sunbathing on the sand with exploring chocolate hills, Asian roads, river trips and see one of the cutest animals of the world- the tarsier.
HOW TO MOVE AROUND IN BOHOL
The best way to get around Bohol is, without a doubt, by renting a motorbike (about 400 pesos a day and you need to show your driving license). The roads are in great condition and the surrounding nature is just amazing!
However, if you don’t know how to ride a motorcycle and need an alternative, I advise you to book a tour that covers the central area of Loboc and covers its main points.
PANGLAO
Panglao is a small island that belongs to Bohol and can be accessed via a small bridge. After exploring hills and forests we switched back to beach mode and headed to Panglao. From Bohol to Panglao you can go by tricycle.

DAY 14,15 & 16: MALAPASCUA
Port Borton and Malapascua tie for my favorite places on this itinerary. Especially because both have the same peaceful atmosphere where time seems to have stopped, both are less touristy and you have more interaction with the locals and both are a hidden paradise.
Malapascua is a very small island where there are no cars, and you walk along sandy roads where you come across children and smiles and any path ends up taking you to the sea. Malapascua makes you feel at home.
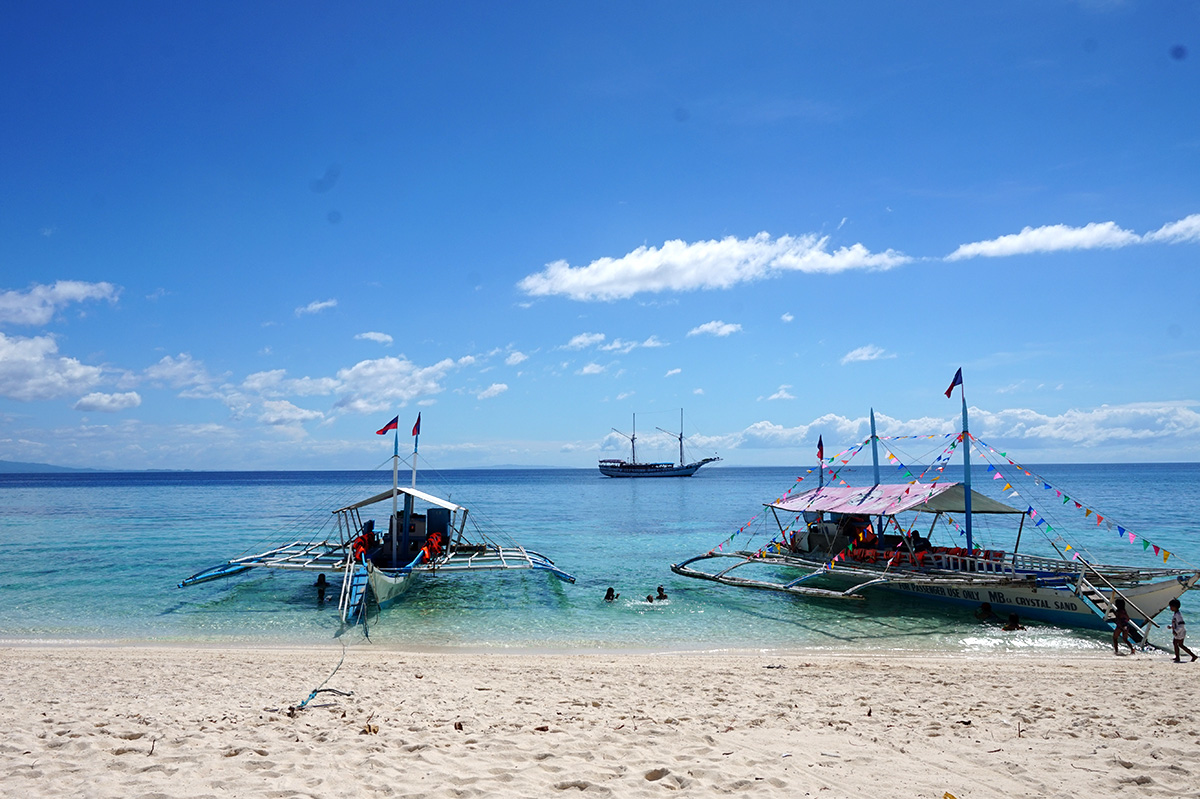
Furthermore, this is where you can take a day trip to Kalanggaman, the most beautiful “little piece” of sand in the universe.

DAY 17 & 18: MOALBOAL
Moalboal is on this itinerary because I really wanted my mum and sister to see one of the Top waterfalls to visit in the Philippines. Even if it meant a crazy day traveling when we could have relaxed a few more days in Malapascua. And it was worth every minute of a journey that seemed to never end. If Kalanggaman was the most beautiful island I’ve ever been to, Kawasan falls are the most incredible waterfalls!
HOW TO GET TO MOALBOAL FROM MALAPASCUA
To go to Moalbal, there is no choice but to go back to Cebu.
- Take the boat from Malapascua to Maya. The first boat left at 7:00.
- Take the van or bus from Maya to Cebu, the price should be around 200 pesos per person and it takes 4 to 5 hours to arrive. When you arrive at the port you will find several vans offering this service. If they are asking you for more than 200 pesos, keep walking and you will find the buses. I didn’t have a good experience with the van so I would advise you to go by bus.
- You will stop in Cebu at the North Bus Terminal and from there take a tricycle to the South Bus Terminal (150 pesos and approximately 30 minutes)
- Take the bus to Moalboal.
Bear in mind that this is a trip that lasts around 7 hours, so plan to leave Malapascua early. And unforeseen events can happen, as was our case where the van driver halfway through did not want to continue the trip because there were not many people and we had to wait for a bus to pass. Crazy. We arrived at Maolboal just in time for bed.
HOW TO GET TO KAWASAN FALLS FROM MOALBOAL
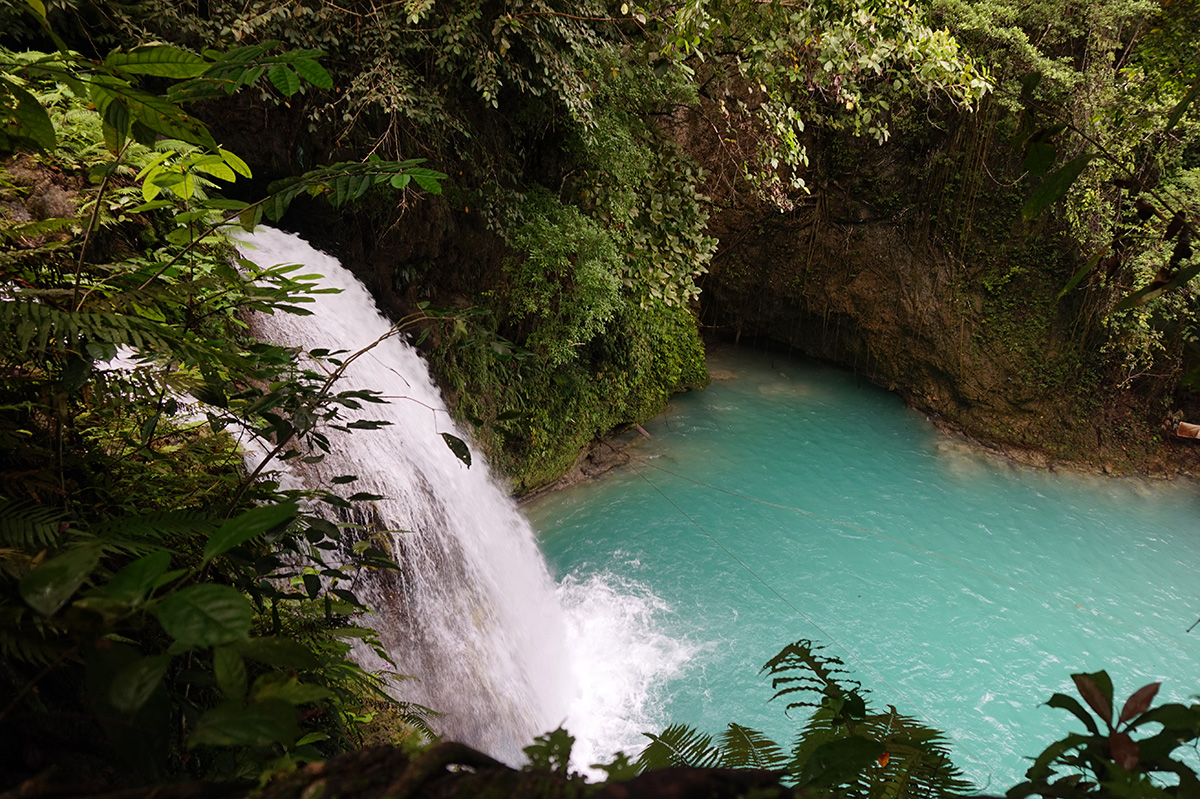

The Kawasan falls are located in Badian, 18km from Moalboal, where you will probably be staying. You can go by tricycle or by bus.
To go by bus, just take any yellow bus you find on the road in the opposite direction to Cebu and ask the driver to get off at Kawasan or “Waterfall”. The journey takes about 30 minutes and costs 30 pesos. The bus will leave you in front of the access to the waterfalls, that is, there is no mistake. From there, the journey through the forest begins until the first waterfall and so on.
KAWASAN FALLS
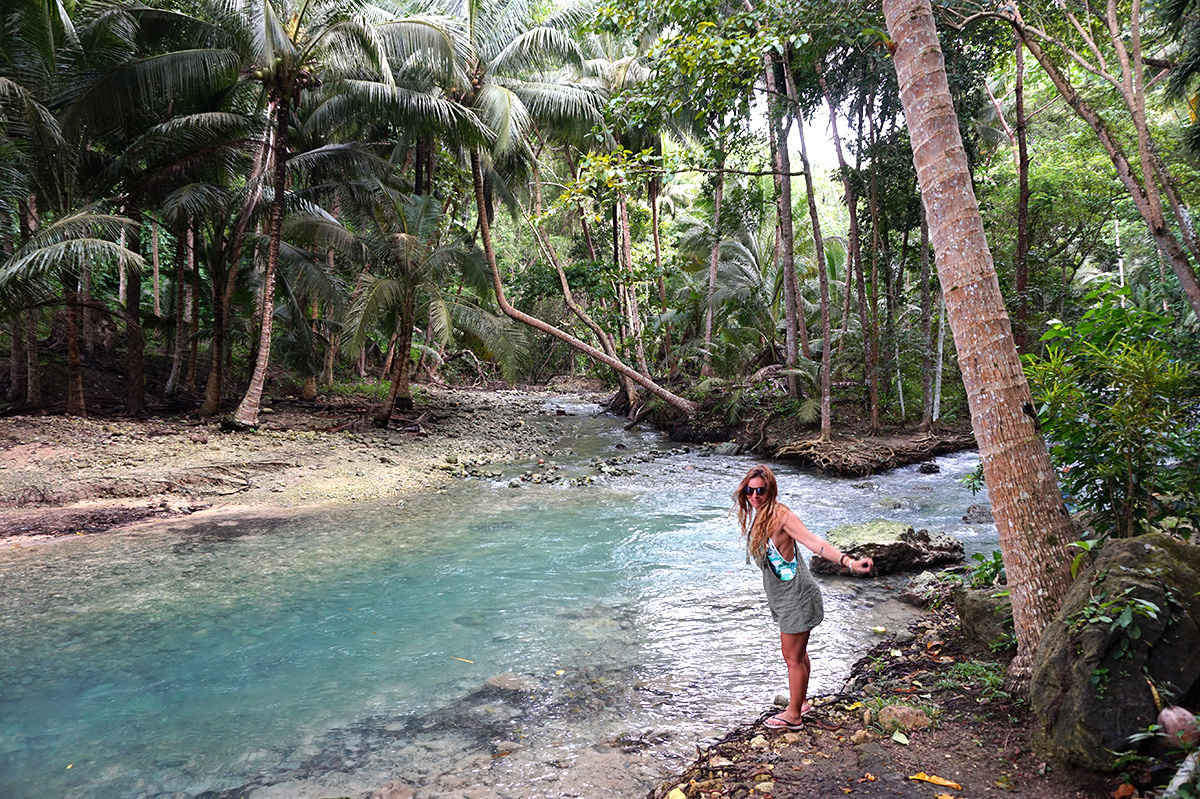
Kawasan Falls is more than just a waterfall. First, because it has more than one waterfall and it’s difficult to decide which one is the most beautiful, second because it is part of a dense forest that takes your breath away, so even the walk to the waterfall is a dream, the water is a turquoise blue that even it looks fake it’s so impressive.
If you are more adventurous or adventurous, you have the option of canyoneering, where you take a tour of the waterfalls and jump from different heights along the way, the highest being 12 meters. I thought it was super fun but we decided to spend the day altogether because obviously, I wouldn’t make my mother jump from waterfalls, right? 😅

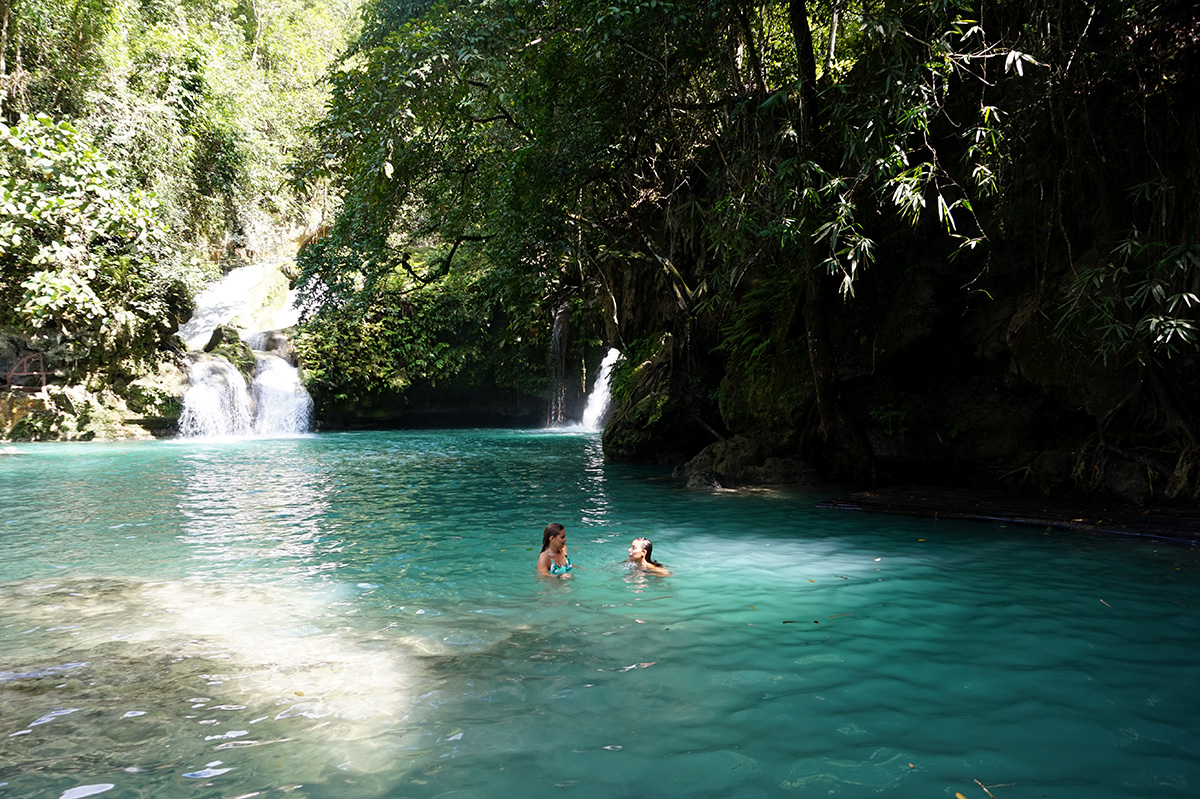

ATTENTION: On the way up, someone might tell you that to go up to the second waterfall you need to hire a guide but that’s a lie, you can go on your own. Never forget that in these tourist areas in Asia people try to take advantage.
DAY 19: MANILA
Back to Manila from Cebu Airport. And so ends 20 days in which you can taste everything the Philippines has to offer. But this country is made up of 7107 islands, so imagine the number of itineraries that can be created.
This is what I decided to do with my family and wonderful islands were left out, but when we don’t have a lifetime to travel we have to decide. With this Philippines travel guide, I managed to have a lot of beach time, a little forest time, and waterfalls. I hope it has been useful to you and that it has awakened your interest in getting to know this wonderful country.
If, for example, I only had 15 days available, I would remove Paglao and reduce the days in El Nido by doing only the A tour – here’s the tip.
*These prices are based on the year I took my trip – late 2018. They may be higher when you go, but it’s good to keep them in mind to understand if they’re asking for much more or not. Having an idea of prices in advance is essential while traveling, it is your basis for negotiation.

